


 |
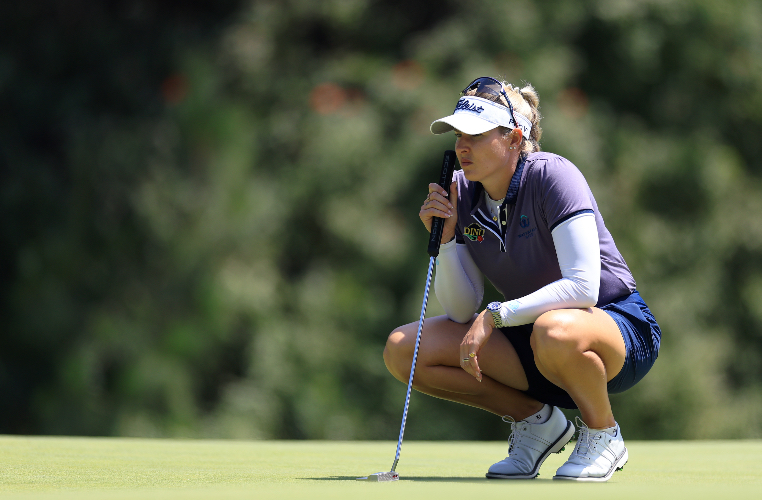
| Melissa and Nicola with the Cell C South African Women’s Open trophy which they hope one of them will be holding aloft next weekend |
San Lameer Country Club on KwaZulu-Natal’s Hibiscus Coast will host the Cell C South African Women’s Open for the first time from 16-19 October. Here, South African identical twin sisters Nicola and Melissa Eaton, give us their guide to the golf course. Nicola describes the front nine and Melissa takes us through the back nine.
Nicola said:
“We have developed a very nice relationship with San Lameer due to the fact that they have the friendliest staff! The Golf Director and Head Professional is Meyer Du Toit along with his wife Vickey, they own and run The Pro Shop at San Lameer, and they have PC Volschenk as the Assistant Golf Professional. They have allowed us the privilege to play and practice at San lameer as much as we have wanted in preparation for the SA Open. They truly have made us feel welcome!
We will soon be launching a fantastic kids program on the South coast called SNAG Golf. It’s a wonderful program to teach kids the correct techniques for golf in the most fun way possible! We are very excited to get this program off the ground. I, Nicola am a full time golf instructor and I only play the local events in SA. Whilst Melissa still has desires to play on tour, namely the LET next year, so she will be helping me with coaching when she is here.”
Hole 1, Par 5
522 yards/478 metres
A straight forward par 5, playing uphill, but depending on the wind it can be reached in two shots. The green consists of 3 tiers so the key to put yourself on the right level to take advantage.
Hole 2, par 4
398 yards/364 metres
This hole is the highest point on the course and has the most magnificent views of the San Lameer Estate, the beach and the Indian Ocean! At this time of year there are lots of whales to be seen. With this being said it is also the most exposed and the wind is a definite factor for this hole. You can hit anything from a driver to a hybrid depending on wind direction. It plays drastically downhill and very open. It has a small green and if missed left you can end up in some tricky grass bunkers or have a tough chip to a green with lots of slope.
Hole 3, par 4
354 yards/324 metres
This is a fairly wide open, short, and straight away par 4, with out of bounds along the right hand side. The green is the key to getting away successfully on this hole. It’s large, and slope is a factor. Position, position, position is key. Hole 4, par 3
153 yards/140 metres
This is the shortest of the par 3s, but don’t let that fool you. Hitting from an elevated tee, to a very narrow green, surrounded by water in the front and a big hill with bunkers behind, accuracy and the right club choice is key.
Hole 5, par 4
317 yards/290 metres
This is a short, slight dogleg to the left, par 4. For long hitters, it’s possible to drive, but there’s no room for error with thick bush on the left and a hazard along the right. The play is to hit a shorter shot off the tee to around the 100m into the green distance. The trickiest part of this hole is the wind. It tends to change directions, so once you’ve figured that out, you should be fine.
Hole 6, par 4
393 yards/360 metres
Rated one of the hardest holes on the course, this is a toughie, especially when that wind blows! The drive is played to the left side of the fairway, to allow for a severely left to right sloped fairway, with a hazard lining the right side. The hole plays downhill all the way, so club selection off the tee is critical to allow for the least stressful approach shot into a green surrounded by water.
Hole 7, par 4
437 yards/400 metres
If you thought the last hole left you out of breath, think again. Hole 7 is considered the toughest hole on the course. It’s a long, dogleg to the right, playing slightly downhill hole. The toughest part is the drive, as you have to hit the left side of this fairway. Right side is dead. This hole tends to play long, especially into the wind, but luckily the green is fairly big which allows for a little forgiveness.
Hole 8, par 5
494 yards/452 metres
This is a nice break after the previous two holes. It’s a straightforward par 5 up a fairly sleep hill. It can be reached in two, with two well struck shots, and the help of the wind behind. Otherwise, play it as a three shot hole. The best chance of birdie is to leave yourself with a full shot into this elevated, severely, two-tiered green.
Hole 9, par 3
199 yards/182 metres
Another downhill par 3, but this time, a lot downhill. Arguably, one of the toughest holes, and most likely the toughest of the par 3s. The green is not that big, but your miss is right on this hole because the green is surrounded by water all along the left and behind the green. If you can walk away with a par you should be very happy, especially when the wind is a factor.
Front nine total: par 36, 3267 yards/2990 metres
Melissa said:
Hole 10, par 4
316 yards/ 289 metres
This straight away, short par 4 appears benign but there’s no need to be overly aggressive. Those that have considerable length can try to drive the green but you better be accurate. The miss is left, as the right is guarded by water all the way, while bunkers protect the left and front side of the green. Hole 11, par 4
343 yards/314 metres
Depending on the wind, this par 4 hole only requires you to hit about a 190m shot off the tee. You better hit the fairway though because it’s a challenging approach shot into a green that is guarded by water all around the front and right side of the green. Play for the mound on the left side to middle of the green and you’ll be happy with the result. Hole 12, par 4
336 yards/308 metres
For those that have the length and carry, this is a drivable par 4 that plays uphill and a slight dogleg to the left. The miss is right because left is a considerable drop away downhill, in other words it’s dead. There are bunkers along the left side, with a well positioned bunker that protects the right side of the hole that you’ll most likely drive into if you don’t hit the precise line off the tee or slightly come out of your tee shot. The safe option is to hit about a 200m shot short of the right bunker, and it’ll leave you a straight forward wedge into the green. Hole 13, par 5
481 yards/440 metres
Probably the most challenging hole on the course, a reachable par 5 if you accurately hit the perfect drive. Take it on at your own peril. It’s a dogleg left with two water hazards that come into play. The lay-up area is surrounded with water on either side, and the green is protected by water all around the front and right side of the green. Hope you have enough balls after finishing this hole. Hole 14, par 3
164 yards/150 metres
A true mid iron par 3 that will most likely play into or with the prevailing winds. It’s slightly downhill, but the green is elevated with a big drop off to the front and left side of this green. You definitely want to miss it right. Hole 15, par 4
384 yards/352 metres
Hitting from an elevated tee, this dogleg to the right hole can play very long into the wind or quite the opposite with the wind. Perfectly positioned bunkers placed on the left side of the fairway right where the landing zone is makes this a tough tee shot that requires precision. A water hazard runs along the right side of this hole, and you better not let your guard down once you’ve made it on the green because this two tier green could catch you if you aren’t wide awake. Don’t miss it long behind this green either. Hole 16, par 3
157 yards/144 metres
If you walk away with a par on this par 3 be very happy. Playing from an elevated tee to a smallish green with a water hazard all along the front, getting the right yardage is key. The wind plays havoc on this hole, so be aware and take it into account. Hole 17, par 5
513 yards/470 metres
This par 5 does not require a driver off the tee. Play short of the water hazard that crosses the fairway about 240m out. For most, you can’t go for the green in two due to water that guards the front making it about a 220m carry. Therefore lay up at the bunkers on the left side of the fairway and then take on the green with your next shot. Chances are you could walk away with a good number on this hole if you play it right. Hole 18, par 4
351 yards/321 metres
Depending on the wind, it appears straight forward, but it requires a well struck, on line tee shot. Out of bounds all the way down the left, and water hazards on the right. The green is surrounded by water so it’s essential you hit the fairway with your drive. A spectacular finishing hole that will provide much drama because anything can happen on this hole. Take a sigh of relief only once the final putt drops.
Back nine total: par 36, 3045 yards/2788 metres
Total: par 72, 6312 yards/5778 metres